If you’re searching for a clear, practical way to build your first web app tutorial, you probably want more than theory—you want a step-by-step path that actually works. This guide is designed to walk you through the essential concepts, tools, and decisions required to turn an idea into a functional web application, without overwhelming jargon or unnecessary detours.
We focus on what beginners truly need: understanding core web technologies, setting up a simple development environment, structuring your app, and deploying it with confidence. Along the way, you’ll gain insight into the logic behind each step so you’re not just copying code—you’re learning how web apps really function.
Our tutorials are built on current development best practices, modern frameworks, and hands-on testing to ensure accuracy and relevance. By the end of this article, you’ll have a working foundation and the confidence to expand your project beyond the basics.
From Idea to Interaction: Your First Web Application Journey
Starting your build your first web app tutorial can feel like learning a new language. A web application simply means software that runs in a browser, like Gmail or Trello (yes, even that to‑do list you ignore).
Follow these steps:
- Define your idea: Keep it small. Example: a daily habit tracker.
- Choose a stack: HTML (structure), CSS (style), JavaScript (behavior).
- Build a basic interface: Create one input field and one button.
- Add interaction: Use JavaScript to display user input instantly.
- Deploy: Use platforms like Netlify for free hosting.
Pro tip: Finish simple before adding features.
Step 1: Blueprinting Your Application Before You Code
Before you open a code editor, pause. Blueprinting means defining your app’s core problem—the single, specific frustration you’re solving. A core problem is the main pain point your user faces (for example, forgetting daily tasks or losing recipe notes). If you can’t state it in one sentence, it’s too big.
Next, identify the must-have features. These are the non-negotiables required for the app to function:
- Add an item
- View saved items
- Mark or edit items
Anything beyond that? Nice-to-have (and often a distraction).
Then sketch a user flow—a simple diagram showing how someone moves through your app. For example: Homepage → View List → Add Item → Save. This visual path prevents feature creep (when small additions quietly bloat your project).
Some argue planning slows creativity. In reality, it sharpens it. The best build your first web app tutorial experiences start with clarity, not code. Plan first—debug less later.
Step 2: Choosing Your Technology Stack (Without the Headache)
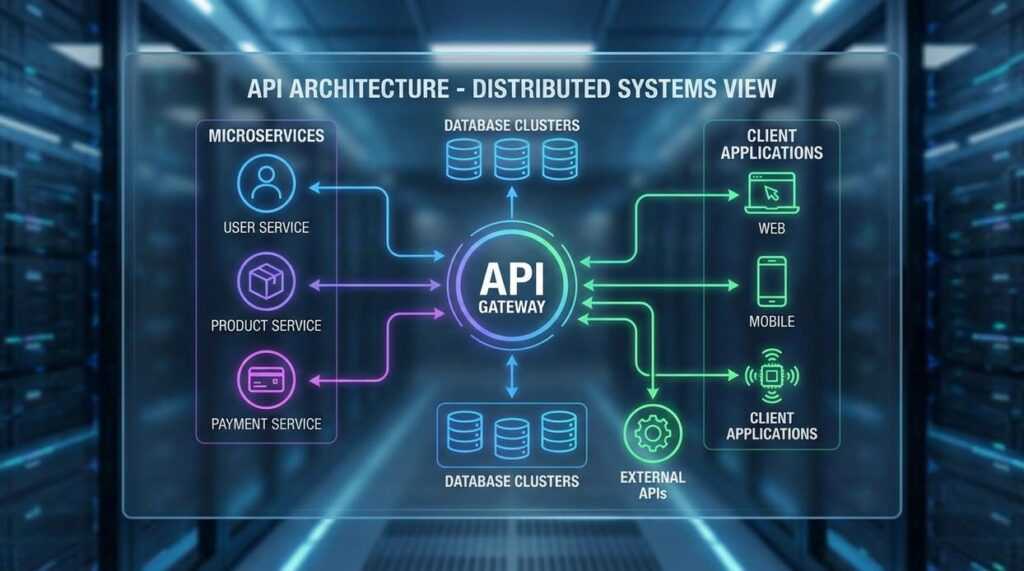
Before you write a single line of code, you need to understand the three core pieces of any web app. First, the frontend—what users see and interact with (buttons, forms, dashboards). Think of it as the stage set in a movie. Next, the backend—the engine running behind the scenes, processing requests and handling logic. Finally, the database—the app’s memory, storing user accounts, posts, or product data.
So which stack should you pick?
For beginners, the MERN stack is a practical choice. MongoDB stores data in flexible, JSON-like documents. Express.js simplifies backend routing. React.js builds dynamic interfaces efficiently. Node.js runs JavaScript on the server.
Here’s the real advantage: it’s all JavaScript. Instead of juggling multiple languages, you focus on one. That’s why most build your first web app tutorial guides recommend MERN—it reduces confusion and speeds up learning.
Install Your Code Editor: Start with Visual Studio Code (VS Code), a lightweight yet powerful editor. Add extensions like Prettier, which automatically formats your code so it stays clean and readable (future you will be grateful).
Install Node.js and npm: Download the latest LTS version from https://nodejs.org. Node.js lets you run JavaScript outside the browser, and npm (Node Package Manager) installs reusable code libraries. Speculation: As JavaScript tooling evolves, Node’s ecosystem will likely power even more AI-driven apps.
Install Git: Git tracks changes in your files, a process called version control (think “save points” in a video game). Get it at https://git-scm.com/downloads.
Initialize Your Project: In your terminal, run:
mkdir my-app
cd my-app
npm init -y
Now you’re ready to follow a build your first web app tutorial or explore a beginner tutorial setting up a secure linux server.
Step 4: Building the Backend Engine
After wiring up the frontend, it’s time to give your app a brain. In most modern projects—especially if you started in 2024 or later with Node 18+—Express.js remains a fast way to spin up a server.
Creating a Simple Server
An Express server listens for HTTP requests and sends responses. Think of it as a restaurant server: it takes orders (requests) and brings back food (data).
const express = require('express');
const app = express();
app.use(express.json());

app.listen(3000, () => console.log('Server running on port 3000'));
Defining API Endpoints
An API endpoint is simply a URL your app can talk to. For example, /tasks might return a task list.
let tasks = ['Learn Node', 'Build API'];

app.get('/tasks', (req, res) => {
  res.json(tasks);
});

app.post('/tasks', (req, res) => {
  tasks.push(req.body.task);
  res.json({ message: 'Task added' });
});
| Method | Endpoint | Purpose |
|——–|———-|———-|
| GET | /tasks | Retrieve tasks |
| POST | /tasks | Add new task |
Before databases, this in-memory setup is perfect when you build your first web app tutorial—quick, simple, and surprisingly powerful.
Step 5: Crafting the Frontend User Interface
Now that your backend is ready, it’s time to bring it to life with React. First, set up your project using create-react-app. This command scaffolds (automatically generates) a starter React application with sensible defaults. It’s the fastest way to move from zero to interface—especially if you’re following a build your first web app tutorial.
Next, build two core components: TodoList and AddTaskForm. A component is a reusable UI building block. Keep them simple. TodoList should accept tasks as props (inputs passed into a component), while AddTaskForm handles user input and submission.
Then connect to your backend using fetch or axios. I recommend axios for cleaner syntax and easier error handling. Make sure your endpoints match exactly—most bugs hide there.
Finally, manage tasks with the useState hook. A hook lets functional components store and update data. Keep state minimal and predictable. That discipline will save you headaches later.
Step 6: Going Live – Deploying Your Application
Now comes the rewarding part: deployment. Choosing beginner-friendly platforms like Vercel or Netlify for your frontend and Heroku or Render for your backend means less configuration and more momentum. In other words, you spend time building features—not wrestling servers.
Using Vercel is straightforward. First, push your code to GitHub. Next, connect your GitHub account to Vercel. Then, select the repository and click ‘Deploy.’ Within minutes, your app is live with a shareable URL.
The benefit? Instant credibility, user feedback, and portfolio proof (yes, LinkedIn-ready). Your build your first web app tutorial became reality.
Your app is live—huge milestone. Now deepen it. Connect a database for persistent storage, add user authentication for secure sessions, and build APIs for scalability. Revisit your build your first web app tutorial to refactor with tests. Then experiment, break things, and explore advanced machine learning frameworks and device strategies.
Ready to Launch Your First Project
You came here to finally understand how to go from idea to working application—and now you’ve seen the exact steps to make it happen. From setting up your environment to structuring your logic and deploying your project, you now have a clear path forward instead of scattered tutorials and guesswork.
If you’ve been stuck overthinking frameworks, confused by setup errors, or overwhelmed by where to begin, that frustration ends here. The real breakthrough comes from taking action, not consuming more theory.
Start today by revisiting the build your first web app tutorial and following it step by step without skipping ahead. Open your code editor, implement each section, and deploy something live—even if it’s simple. Momentum beats perfection every time.
If you want structured innovation alerts, practical tech breakdowns, and step‑by‑step digital build strategies trusted by thousands of forward‑thinking developers, plug into our platform now. Get expert-backed tutorials, proven machine learning frameworks, and device-ready strategies designed to eliminate confusion and accelerate results.
Don’t just read about building—ship something. Start your first app now and turn your learning into real-world progress.
 Director of Content & Digital Strategy
Roxie Winlandanders writes the kind of practical tech application hacks content that people actually send to each other. Not because it's flashy or controversial, but because it's the sort of thing where you read it and immediately think of three people who need to see it. Roxie has a talent for identifying the questions that a lot of people have but haven't quite figured out how to articulate yet — and then answering them properly.
They covers a lot of ground: Practical Tech Application Hacks, Expert Tutorials, Core Tech Concepts and Breakdowns, and plenty of adjacent territory that doesn't always get treated with the same seriousness. The consistency across all of it is a certain kind of respect for the reader. Roxie doesn't assume people are stupid, and they doesn't assume they know everything either. They writes for someone who is genuinely trying to figure something out — because that's usually who's actually reading. That assumption shapes everything from how they structures an explanation to how much background they includes before getting to the point.
Beyond the practical stuff, there's something in Roxie's writing that reflects a real investment in the subject — not performed enthusiasm, but the kind of sustained interest that produces insight over time. They has been paying attention to practical tech application hacks long enough that they notices things a more casual observer would miss. That depth shows up in the work in ways that are hard to fake.
Director of Content & Digital Strategy
Roxie Winlandanders writes the kind of practical tech application hacks content that people actually send to each other. Not because it's flashy or controversial, but because it's the sort of thing where you read it and immediately think of three people who need to see it. Roxie has a talent for identifying the questions that a lot of people have but haven't quite figured out how to articulate yet — and then answering them properly.
They covers a lot of ground: Practical Tech Application Hacks, Expert Tutorials, Core Tech Concepts and Breakdowns, and plenty of adjacent territory that doesn't always get treated with the same seriousness. The consistency across all of it is a certain kind of respect for the reader. Roxie doesn't assume people are stupid, and they doesn't assume they know everything either. They writes for someone who is genuinely trying to figure something out — because that's usually who's actually reading. That assumption shapes everything from how they structures an explanation to how much background they includes before getting to the point.
Beyond the practical stuff, there's something in Roxie's writing that reflects a real investment in the subject — not performed enthusiasm, but the kind of sustained interest that produces insight over time. They has been paying attention to practical tech application hacks long enough that they notices things a more casual observer would miss. That depth shows up in the work in ways that are hard to fake.